
Select Affected Faces Easily In Fusion 360
TL;DR
A feature (Extrude, Combine, Rectangular Pattern, Offset Face, etc.) can result in many faces being affected/created. You often want to select all the affected faces so that the next feature can be applied to them also.
- Select your feature in the time line
- Run the SelectAffectedFeatureFaces script (all affected faces are now selected)
- Continue with your next feature.
Description
A Fusion 360 script to help to quickly select all the faces that were affected by a feature.
Install
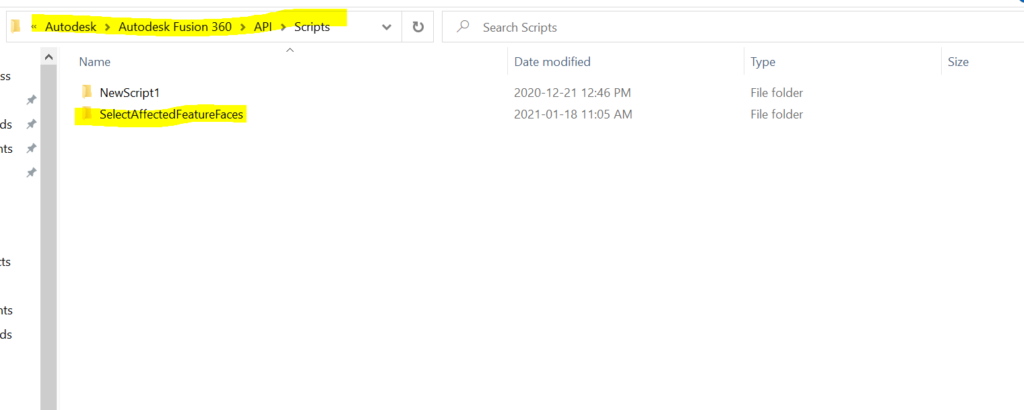
Copy the whole SelectedAffectedFeatureFaces folder (https://github.com/cmactagg/Fusion360Scripts) and drop it into your API/Scripts folder. On windows this is something similar to C:\Users\<your windows user>\AppData\Roaming\Autodesk\Autodesk Fusion 360\API\Scripts
Restart Fusion 360.
How to use
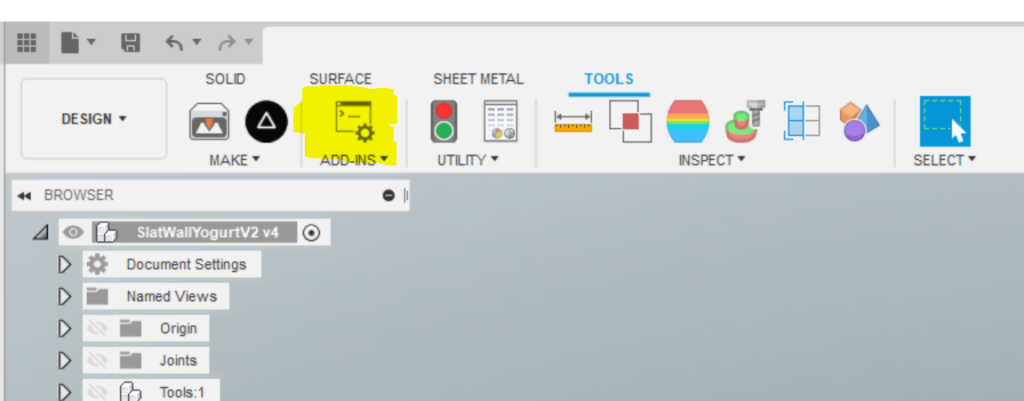
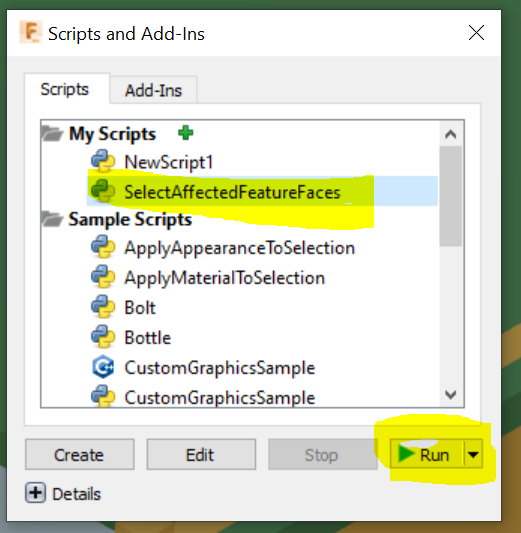
Select a feature in your timeline (Extrude, Combine, Rectangular Pattern, Offset Face, etc) Run the SelectedAffectedFeatureFaces. You can find the script in the Design workspace menu. Tools -> Add-ins -> Scrips and Add-ins -> Scripts -> My Scripts -> SelectedAffectedFeatureFaces -> Run
Now you can do your next feature on these faces.
Caution: Some faces may be affected by a feature that you didn’t expect. So take a look at all the selected faces to ensure what was selected is what you wanted. The scenario that surprised me was when you do a Combine, and a face on each component touch each other but don’t interfere. You wouldn’t expect these faces to be considered ‘affected’ by the combine, but according to Fusion they are.
Why use this script
Often you will want to apply a new feature to the faces that were created/modified by a previous feature. Many faces can be created by a feature, so this just makes it very easy to select them all in one step. For example: You want to Combine (cut) two components, then you want to have some clearance between these two components. Do the combine of the two components and this creates many new faces on the target body. Instead of selected all the newly created faces by clicking each one (there may be many and its possible to miss a few), simply run the SelectedAffectedFeatureFaces script and all the new faces will be selected for you. Now apply Offset Faces and set the offset (clearance you want between the components).
Example
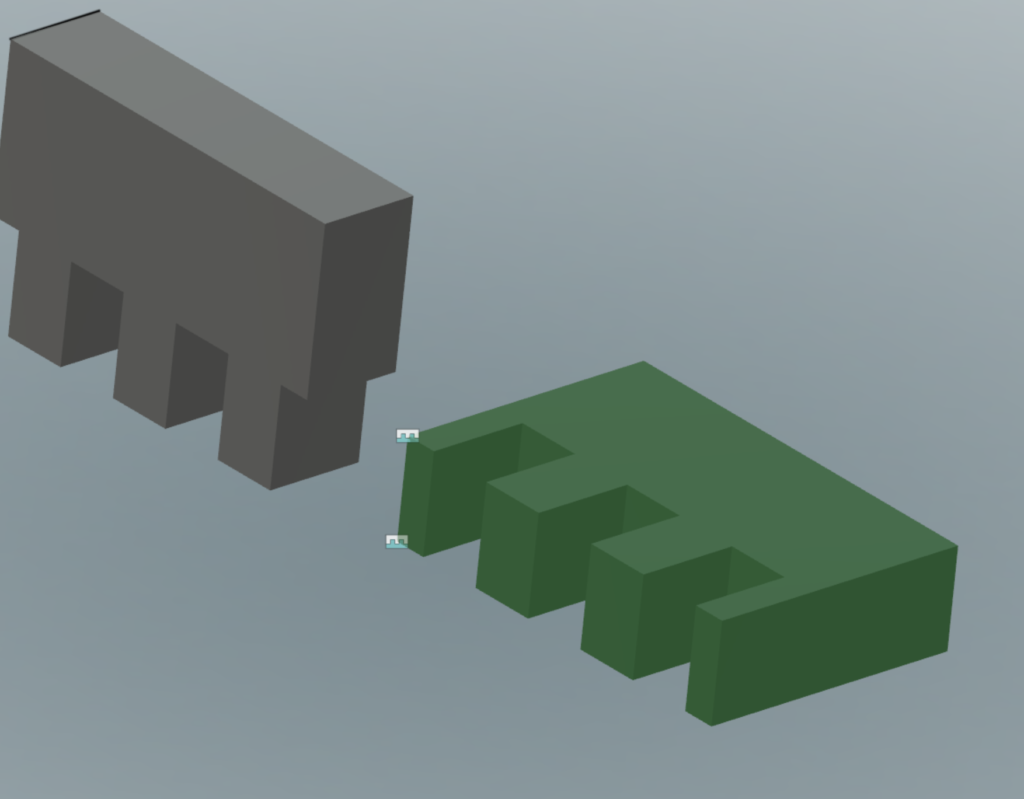
Create two components and use a joint to attach them together so there is some interference.
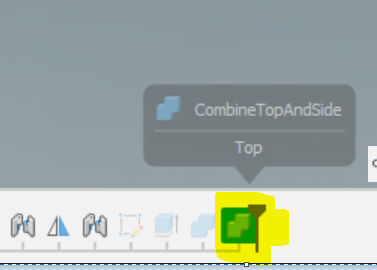
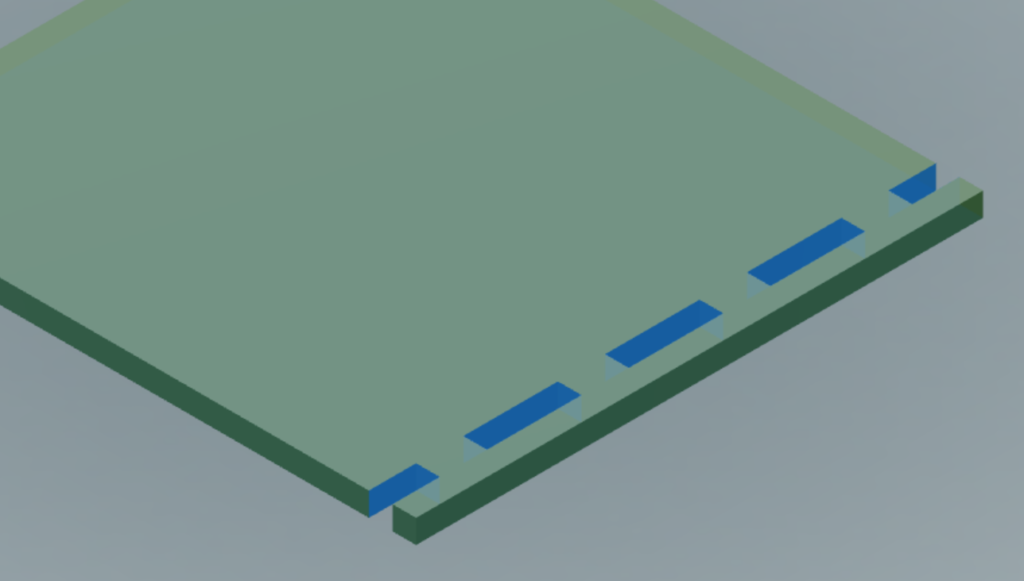
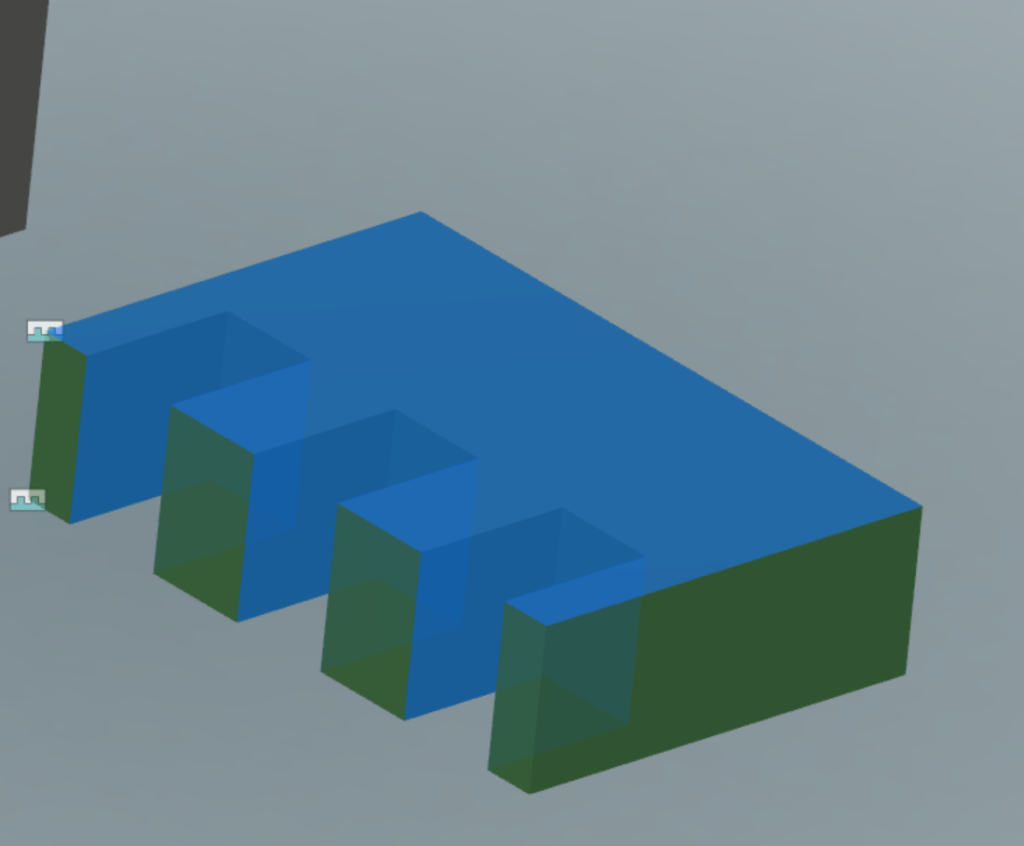
Do a Combine (cut) to remove the interference.

Now select the Combine on the timeline and run the SelectedAffectedFeatureFaces script. Review the Caution (above) to understand why the top face is also selected.
Continue with your next feature.